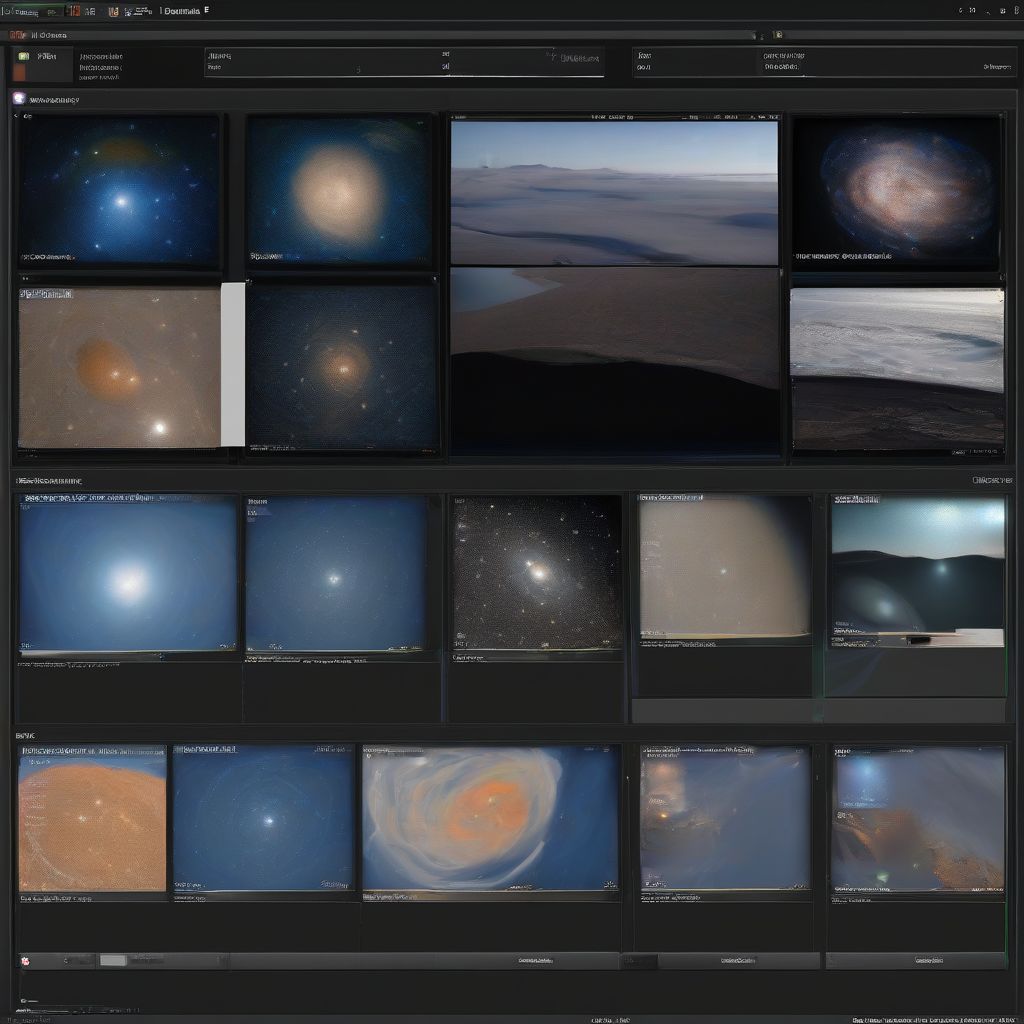
Have you ever gazed up at the night sky, captivated by the celestial tapestry of stars, galaxies, and nebulae? Astrophotography offers a way to capture these cosmic wonders, transforming fleeting moments of celestial beauty into timeless works of art. But the journey from capturing the photons to showcasing your stellar masterpiece involves a crucial step: image processing and editing.
Processing and editing astrophotography images might seem daunting, but it’s where the magic truly unfolds. It’s akin to developing a film negative, revealing the hidden details and grandeur within your cosmic snapshots. This guide will serve as your roadmap, navigating you through the steps and techniques to process and edit your astrophotography images, transforming them from raw captures to awe-inspiring visuals.
Understanding the Fundamentals: Why Process Astrophotography Images?
Unlike conventional photography, where we capture images illuminated by abundant sunlight, astrophotography delves into the realm of faint celestial objects. Our eyes, even aided by telescopes, can only perceive a fraction of the light emitted by these distant wonders.
This is where image processing comes in. It’s not about “faking” images but rather enhancing and revealing the faint signals hidden within the raw data. By stacking multiple exposures, we amplify the signal-to-noise ratio, reducing grain and revealing subtle details. Calibration frames further refine the image, removing sensor noise and optical imperfections.
Essential Software for Astrophotography Processing
Before embarking on our processing journey, you’ll need the right tools in your arsenal. Fortunately, a plethora of powerful yet user-friendly software options are available, both free and paid. Some popular choices include:
- DeepSkyStacker (DSS): A free, beginner-friendly program specifically designed for stacking astrophotography images.
- Sequator: Another excellent free option known for its ease of use, particularly for nightscape images with a foreground.
- PixInsight: A professional-grade, paid software renowned for its comprehensive processing capabilities and advanced features.
- Adobe Photoshop: While not astrophotography-specific, its powerful layering, masking, and adjustment tools make it a valuable asset for final image enhancements.
The choice of software often comes down to personal preference, budget, and the complexity of your processing needs. As you progress, you might find yourself drawn to more advanced options like PixInsight for greater control and flexibility.
 Astrophotography Software
A Step-by-Step Guide to Processing Your Astrophotography Images
Now, let’s roll up our sleeves and dive into the step-by-step process of transforming your raw astrophotography captures into stunning visuals.
1. Calibration: The Foundation of a Clean Image
Calibration is the unsung hero of astrophotography processing. It involves capturing specific frames that help remove sensor noise and optical imperfections, resulting in a cleaner, more accurate final image. These frames include:
- Dark Frames: Captured with the lens cap on, these frames record the thermal noise generated by the sensor, which is then subtracted from the light frames.
- Bias Frames: Similar to dark frames but with a very short exposure time, these frames capture the readout noise of the sensor.
- Flat Frames: Taken by pointing your camera at a uniformly illuminated source (e.g., the twilight sky or a light panel), these frames help correct for uneven illumination caused by vignetting or dust particles.
2. Stacking: Amplifying the Signal
Stacking is the heart of astrophotography processing. By aligning and averaging multiple exposures of the same subject, we effectively increase the signal-to-noise ratio. This reduces random noise, revealing faint details that would otherwise remain hidden. Software like DeepSkyStacker automates this process, making it manageable even for beginners.
3. Stretching the Data: Revealing Hidden Details
The stacked image, while cleaner, will appear dark and lacking contrast. Stretching involves adjusting the histogram, which represents the tonal range of the image. By stretching the histogram, we redistribute the pixel values, revealing faint details and enhancing the overall contrast.
4. Enhancing Color and Contrast
With the basic structure in place, it’s time to infuse your image with vibrant colors and striking contrast. This involves adjusting the color balance, saturation, and curves to achieve a visually appealing and realistic representation of the celestial object.
5. Noise Reduction and Sharpening
Even after stacking, some residual noise might persist. Noise reduction techniques help minimize this without compromising image detail. Sharpening techniques, applied judiciously, enhance the overall crispness and definition of the image.
6. Cropping and Final Adjustments
The final stage involves cropping the image to achieve a pleasing composition and removing any unwanted artifacts at the edges. Fine-tuning the overall brightness, contrast, and color balance adds the finishing touches to your masterpiece.
Tips for Stunning Astrophotography Images
- Master the Art of Focusing: Accurate focusing is paramount in astrophotography. Use tools like Bahtinov masks or live view zoom to achieve pinpoint stars.
- Embrace the Darkness: Seek out dark skies away from city lights to minimize light pollution, which can wash out faint celestial objects.
- Experiment and Be Patient: Astrophotography is a journey of learning and experimentation. Don’t be afraid to try different settings, software, and processing techniques.
[amazon bestseller=”astrophotography”]
Conclusion: A Universe of Creativity Awaits
Processing and editing astrophotography images is an integral part of the creative process, allowing you to unveil the hidden wonders of the cosmos. While it might seem daunting at first, with practice, patience, and the right tools, you’ll be amazed at the breathtaking images you can create. So, venture forth, embrace the learning curve, and let your creativity soar amongst the stars!
What are your experiences with astrophotography processing and editing? Share your tips, challenges, and, most importantly, your stunning astrophotography images in the comments below!
