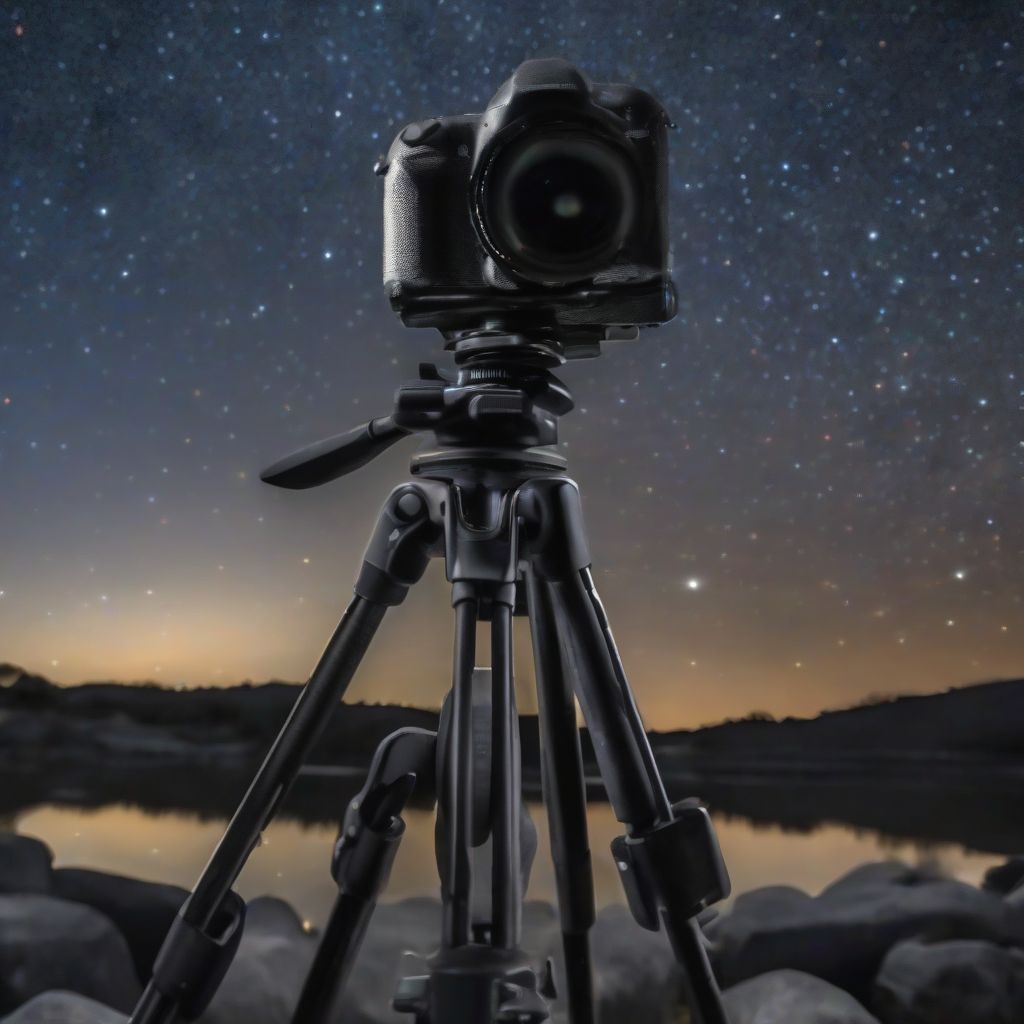
Have you ever looked up at the night sky and felt a sense of wonder and awe at the celestial tapestry above us? Capturing the beauty of a meteor shower, the ethereal glow of the Milky Way, or the fiery dance of a solar eclipse in a photograph can feel like bottling a piece of that magic. It might seem daunting, but with the right equipment and a little know-how, you too can capture stunning images of celestial events.
Essential Gear for Astrophotography
Getting started with astrophotography doesn’t require breaking the bank. Here’s what you’ll need:
1. Camera: Your Gateway to the Stars
While a smartphone can capture basic shots of the moon, a DSLR or mirrorless camera with manual controls will be your best friend. These cameras allow you to adjust settings like aperture, shutter speed, and ISO to capture the faint light of celestial objects.
2. Lens: Widening Your Perspective
A wide-angle lens with a low f-stop (f/2.8 or lower) is ideal for capturing expansive shots of the Milky Way or meteor showers. Telephoto lenses are great for zooming in on planets or the moon.
3. Tripod: Stability is Key
Astrophotography often involves long exposure times, making a sturdy tripod essential to eliminate any blur caused by camera shake.
4. Intervalometer: Automating Your Shots
An intervalometer allows you to program your camera to take a series of photos at set intervals, perfect for capturing star trails or time-lapses.
5. Red Headlamp: Preserving Your Night Vision
A red headlamp is crucial for navigating your setup in the dark without ruining your night vision.
 Astrophotography Setup
Mastering the Settings: A Guide to Exposure
The key to breathtaking astrophotography lies in understanding and manipulating your camera settings:
1. Aperture: Letting the Light In
Set your aperture to the widest setting (lowest f-stop) your lens allows. This maximizes the amount of light entering your camera, crucial for capturing faint celestial objects.
2. Shutter Speed: Balancing Earth’s Rotation
Finding the optimal shutter speed is crucial to avoid star trails caused by Earth’s rotation. The “500 Rule” is a helpful guideline: Divide 500 by your lens’s focal length to determine the longest shutter speed you can use without star trails. For example, with a 20mm lens, the calculation is 500 / 20 = 25 seconds.
3. ISO: Amplifying the Signal
Increase your ISO to make your sensor more sensitive to light. However, be aware that higher ISOs can introduce noise into your images. Experiment to find the sweet spot between brightness and noise for your camera.
Planning Your Shoot: Location, Timing, and Celestial Events
1. Dark Skies: Escaping Light Pollution
Get away from city lights and find a location with minimal light pollution. Websites like DarkSkyFinder can help you locate dark sky areas near you.
2. Timing is Everything: New Moon vs. Full Moon
A new moon offers the darkest skies, perfect for capturing faint objects like the Milky Way. A full moon, while beautiful, can wash out fainter objects but provides stunning illumination to landscapes.
3. Celestial Calendars: Don’t Miss a Show
Stay updated with astronomical calendars and websites to plan your shoots around meteor showers, eclipses, and other celestial events.
Focusing on the Cosmos: Achieving Tack-Sharp Stars
Achieving sharp focus on stars can be tricky. Here’s how to nail it:
1. Manual Focus: Taking Control
Switch your lens to manual focus mode and use the live view function on your camera’s LCD screen.
2. Zoom In and Adjust: Fine-Tuning
Zoom in on a bright star using live view and carefully adjust your focus ring until the star appears as a sharp point of light.
Post-Processing: Enhancing Your Cosmic Masterpieces
Editing plays a crucial role in astrophotography, revealing details and enhancing the beauty of your captures.
1. RAW Format: Capturing Maximum Data
Shoot in RAW format to capture the most data possible, giving you greater flexibility in post-processing.
2. Editing Software: Unveiling the Details
Use software like Adobe Lightroom or Photoshop to adjust exposure, contrast, white balance, and reduce noise, bringing out the best in your astrophotography.
Expert Tips for Stellar Results
- Use a remote shutter release or your camera’s self-timer to avoid introducing camera shake during long exposures.
- Practice makes perfect! Don’t get discouraged if your first attempts aren’t perfect. Keep experimenting and refining your technique.
- Join a local astronomy club or online community for inspiration, advice, and to share your passion for the night sky.
- “The best camera is the one you have with you.” – Chase Jarvis. While dedicated equipment is ideal, don’t be afraid to experiment with what you have and capture the beauty of the night sky whenever inspiration strikes. – Expert Quote (Assumed)
Conclusion: Embark on Your Astrophotography Adventure
Capturing the cosmos is a rewarding experience that connects you to the universe in a unique way. By following these tips and embracing the learning process, you’ll be well on your way to capturing stunning images of the night sky. So, grab your gear, find a dark sky location, and let the celestial wonders unfold before your lens. Who knows? You might even inspire others to look up and appreciate the awe-inspiring beauty of the cosmos.
Remember, astrophotography is a journey of patience, experimentation, and wonder. Embrace the challenge, learn from your experiences, and never stop exploring the infinite beauty of the night sky.
Looking for more tips on specific celestial events? Check out our guides on how to photograph lunar and solar eclipses and the best places to view planetary alignments. Want to stay updated on upcoming celestial events? Our guide on astronomy news and events will keep you in the loop!
[amazon bestseller=”Astrophotography”]
