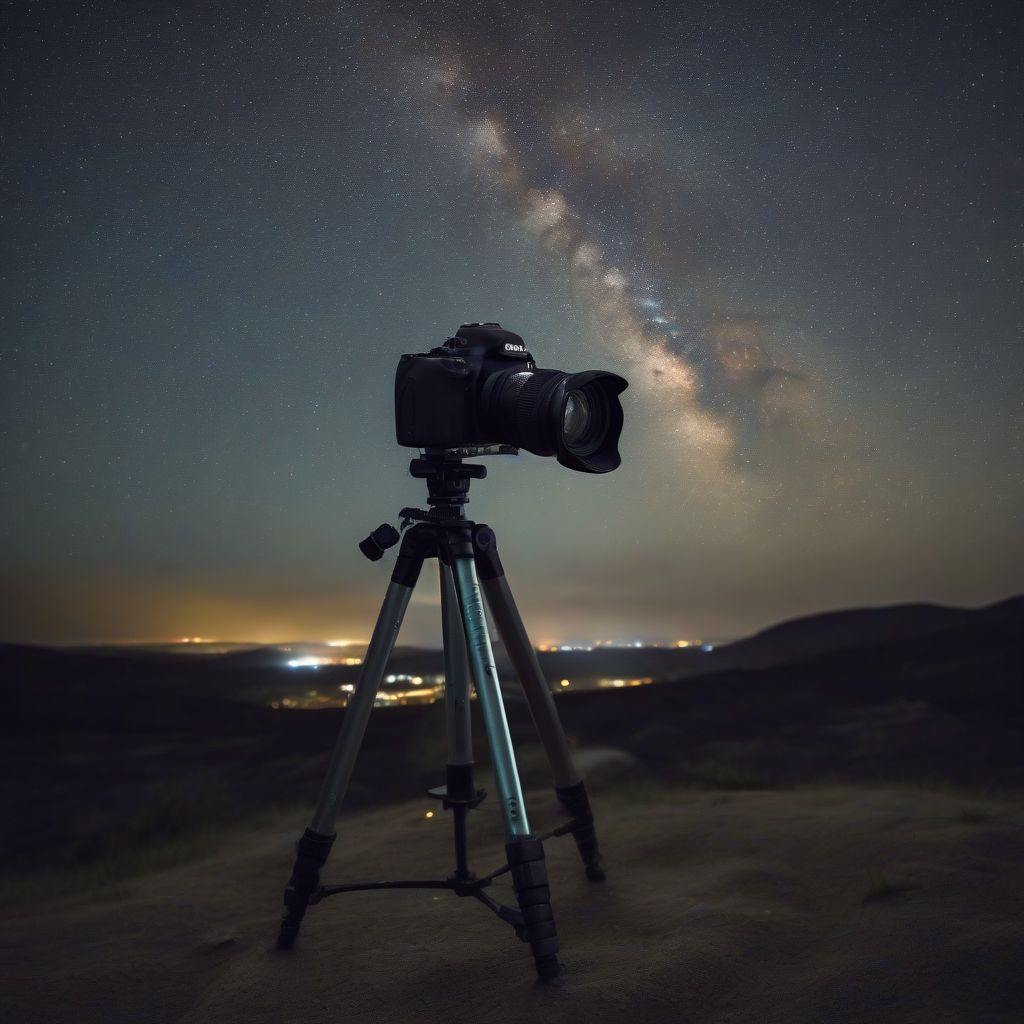
Have you ever gazed up at a star-studded sky, a meteor shower, or a lunar eclipse and felt a sense of awe? The universe offers a breathtaking tapestry of celestial events, and with the right knowledge and tools, you can capture these wonders and share them with the world.
This isn’t just about snapping a photo; it’s about freezing a moment of cosmic beauty. Whether you’re an amateur photographer or just starting, this guide will equip you with everything you need to photograph celestial events like a pro.
Understanding the Basics: Equipment and Preparation
Before you embark on your celestial photography journey, it’s crucial to have the right gear and preparation:
1. Choosing Your Weapon: The Camera
-
DSLR or Mirrorless: For capturing stunning celestial images, a DSLR (Digital Single Lens Reflex) or mirrorless camera reigns supreme. These cameras allow for manual control over settings, which is essential for astrophotography.
-
Sensor Size Matters: A camera with a larger sensor (APS-C or full-frame) will capture more light, resulting in better low-light performance, which is essential for capturing faint celestial objects.
2. The Lens: Your Window to the Cosmos
-
Wide-Angle Wonders: For capturing expansive night sky views, meteor showers, or constellations, a wide-angle lens (14mm-24mm) is ideal.
-
Telephoto Power: To zoom in on the moon’s craters, distant planets, or galaxies, a telephoto lens (200mm or higher) is your best bet.
3. Stability is Key: The Tripod
A sturdy tripod is non-negotiable in astrophotography. Even the slightest movement during long exposures can result in blurry images.
4. Location, Location, Location
-
Escape Light Pollution: Venture away from city lights to minimize light pollution, which can wash out the brilliance of celestial objects.
-
Check the Weather: Clear skies are a must! Use weather apps or websites to plan your astrophotography outings.
 Night Sky Photography
Mastering the Settings: Unlocking Your Camera’s Potential
Now that you’re geared up, let’s dive into the camera settings that will make your celestial images shine:
1. Manual Mode is Your Friend: Switch your camera to manual mode (usually denoted as “M”) to take full control of the settings.
2. Aperture: Opening Up to the Stars
- Wide Open: Set your aperture to the widest setting (lowest f-number, e.g., f/2.8, f/4). This allows the maximum amount of light to enter the lens.
3. Shutter Speed: Capturing the Flow of Time
- Long Exposures: Use a shutter speed of 10-30 seconds (or longer for star trails) to capture the faint light of celestial objects. Remember, a tripod is essential for sharp images during long exposures.
4. ISO: Balancing Light and Noise
- Finding the Sweet Spot: Start with an ISO of 800-1600 and adjust as needed. A higher ISO makes the sensor more sensitive to light but can introduce noise (graininess).
5. Focusing on the Infinite:
- Manual Focus: Set your lens to manual focus and aim for infinity (usually denoted by the ∞ symbol). Use your camera’s live view mode and zoom in on a bright star to fine-tune the focus.
Celestial Events: A Photographer’s Delight
Each celestial event presents unique opportunities for breathtaking imagery:
1. Meteor Showers: Capturing “Shooting Stars”
- Plan Ahead: Consult a meteor shower calendar to know the peak dates and times.
- Compose and Expose: Use a wide-angle lens to capture a broad swathe of the sky. Set your camera for continuous shooting mode and capture multiple exposures.
2. Lunar Eclipse: The Moon’s Dance with Shadow
- Telephoto Lens: A telephoto lens will help you capture close-up shots of the moon’s phases during the eclipse.
- Bracketing Exposures: The moon’s brightness changes during an eclipse. Use exposure bracketing to ensure you capture the full range of detail.
3. The Milky Way: Our Galactic Home
- Summertime Splendor: The Milky Way’s core is most visible during the summer months.
- Find a Dark Sky: Light pollution is the enemy of Milky Way photography.
[amazon bestseller=”astrophotography”]
Post-Processing: Enhancing the Magic
Post-processing can further enhance your celestial images:
1. Software Options: Adobe Lightroom and Photoshop are popular choices for astrophotography editing.
2. Basic Adjustments: Adjust brightness, contrast, and saturation to bring out the details in your images.
3. Noise Reduction: Use noise reduction tools to minimize graininess, especially in high-ISO images.
Conclusion: Your Journey Among the Stars
Capturing stunning images of celestial events is a rewarding pursuit that combines technical skill with artistic vision. Remember to plan your shots, master your camera settings, and embrace the art of post-processing.
Now, it’s time to grab your gear, venture out under the starry canvas above, and let your creativity soar among the cosmos! Share your experiences and stunning astrophotography in the comments below. What celestial events inspire you the most?
