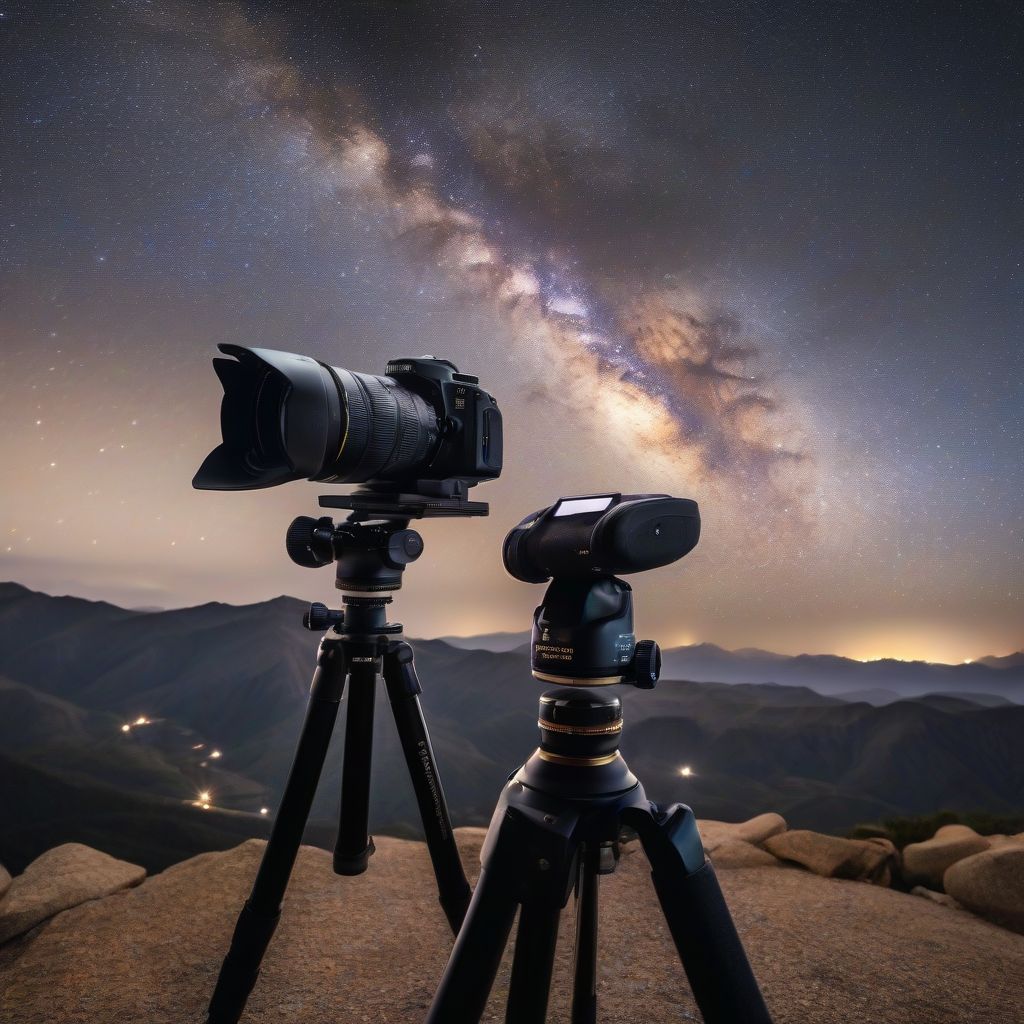
Have you ever gazed up at the night sky and felt a sense of awe and wonder staring at the Milky Way? Imagine capturing that breathtaking beauty in a photograph. It might seem like magic, but with the right astrophotography tips and a little patience, you can capture stunning images of the Milky Way, even as a beginner.
Understanding the Basics
Before you venture out into the night, let’s cover the fundamentals of Milky Way photography.
What is Astrophotography?
Simply put, astrophotography is the art of photographing celestial objects like stars, planets, and galaxies. When it comes to capturing the Milky Way, you’re essentially taking a long exposure image of the night sky, allowing your camera to gather enough light to reveal the intricate details of our galaxy.
When is the Best Time to Photograph the Milky Way?
Timing is crucial in Milky Way photography. The best time to capture our galaxy in all its glory is during the Milky Way season, which typically runs from February to October in the Northern Hemisphere and August to April in the Southern Hemisphere. You’ll want to choose a night when the moon is new or in its crescent phase to minimize light pollution.
Where Can I Find the Milky Way?
Finding the Milky Way requires escaping light-polluted cities and venturing into darker locations. Use a light pollution map to locate areas with minimal light pollution for optimal viewing and photography.
Essential Equipment for Milky Way Photography
While you don’t need the most expensive gear to get started, having the right equipment is essential for capturing stunning Milky Way shots.
Camera
A camera with manual mode capability is crucial. This allows you to control the shutter speed, aperture, and ISO settings, which are essential for astrophotography.
Lens
A wide-angle lens with a wide aperture (f/2.8 or lower) is ideal for Milky Way photography. This allows you to capture a wider field of view and gather more light, resulting in brighter and more detailed images of the night sky.
Tripod
A sturdy tripod is non-negotiable for astrophotography. Long exposure times are necessary to capture enough light, and even the slightest movement can result in blurry images.
Intervalometer or Remote Shutter Release
An intervalometer or remote shutter release allows you to trigger your camera without physically touching it, preventing camera shake during those long exposures.
Additional Accessories
- Headlamp with Red Light Mode: Preserves your night vision.
- Extra Batteries: Long exposures drain batteries quickly.
- Lens Cleaning Kit: Keep your lens free from dust and debris.
 Milky Way Over Mountains
Camera Settings for Capturing the Milky Way
Mastering your camera settings is key to capturing stunning Milky Way photos. Here’s a breakdown of the optimal settings:
Shutter Speed
The general rule of thumb for calculating shutter speed is to use the “500 Rule”. Divide 500 by the focal length of your lens to determine the maximum shutter speed to avoid star trails.
Example:
If you’re using a 24mm lens:
500 / 24mm = 20.8 seconds
This means your shutter speed should be no longer than 20.8 seconds to prevent noticeable star trails.
Aperture
Set your aperture to the widest setting your lens allows (lowest f-number). This will allow the maximum amount of light to enter your camera.
ISO
Start with an ISO of 1600 and adjust based on the results. Higher ISO values can introduce noise, so it’s a balancing act between brightness and image quality.
Focus
Achieving sharp focus is crucial. Switch your lens to manual focus and use live view to zoom in on a bright star. Adjust the focus ring until the star appears as a sharp point of light.
Planning Your Milky Way Shoot
Check the Weather Forecast
Clear skies are a must for Milky Way photography. Check the weather forecast and choose a night with minimal cloud cover.
Monitor Moon Phases
The moon’s brightness can overpower the Milky Way. Opt for a new moon or when the moon is below the horizon.
Scout Your Location
Scout your location during the day to familiarize yourself with the area and find the best composition.
Post-Processing Your Milky Way Photos
Post-processing plays a vital role in enhancing your Milky Way photos. Software like Adobe Lightroom or Photoshop can help you adjust brightness, contrast, clarity, and reduce noise to bring out the best in your images.
[amazon bestseller=”astrophotography”]
Conclusion
Photographing the Milky Way is a rewarding experience that allows you to connect with the cosmos and capture its awe-inspiring beauty. By following these astrophotography tips, mastering your camera settings, and embracing the art of post-processing, you can create stunning images of our galaxy that will leave a lasting impression. So, venture out into the night, embrace the darkness, and let the Milky Way inspire you.
